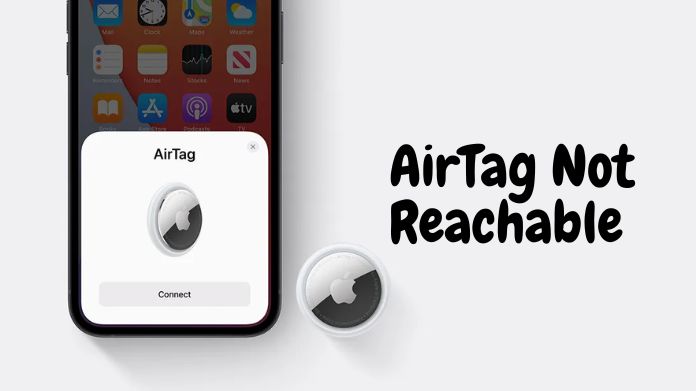
AirTag is no less than a godsend for those who constantly lose their keys, wallet, and Apple gadgets. But what if this last ray of hope fades away? Sounds frightening? It is, indeed.
While AirTags are thoughtfully designed to help users locate their Apple gadgets, they come with their fair share of issues.
Most users recently complained about facing AirTag not reachable issue, leaving them frustrated and annoyed.
Ensure that your AirTags are connected to your iPhone to work precisely. If you are facing the AirTag not connecting error, resolve it first, and see if they serve its purpose.
Here, we’ll share a handy guide about how to fix AirTag not reachable error. Browse the tutorial and carry out the steps to eradicate the error permanently.
Let’s get started!!
Table of Contents
Why is Your AirTag Not Reachable?

Check them out, and try to avoid these triggers in the future.
- No Bluetooth or Data Connection: AirTag requires an active Bluetooth and Data Connection. It may not work if these options are turned off (intentionally or mistakenly).
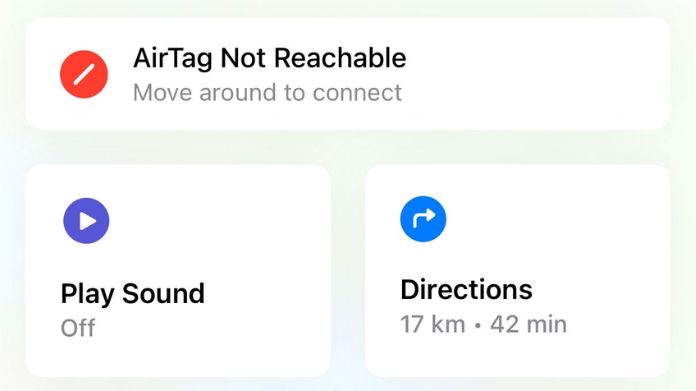
- Not in Range: AirTags only work for a limited range. Hence, your AirTag and the device you are locating must be within a range. Otherwise, you’ll be greeted with AirTag not Reachable; move around to connect error.
- No Battery: This device finder relies on a battery for its functioning. Therefore, ensure that your AirTags are fully charged to complete their job.
- AirTag is damaged: Yet another major cause why you are facing the AirTag not working issue is a minor bug or physical damage. AirTags, like any other gadget, are delicate and prone to damage. Hence, cross-check your AirTags twice before blaming anything.
- Outdated Device: Every Apple device needs to be updated regularly to perform its operations, be it your Apple CarPlay, Apple Watch, or AirTag. Thus, please ensure that your AirTag is updated to its latest version.
How to Fix Airtag Not Reachable Error Now?

Follow the sequence-wise and bring AirTags back to life.
1. Consider Replacing AirTag’s Battery

Apple claims that the device’s battery lasts for a year.
Hence, before jumping into any other complicated process, check the battery level and determine if it’s working correctly.
To check the AirTag’s battery level,
- Go to Find My > Items > Click on AirTag.
- The battery level will be displayed on the screen.
If it is dead, consider replacing a battery altogether and adding life to your AirTags. Make sure to place the battery in the correct position to avoid any further glitches.
2. Follow the Error – Move Around the AirTag

All you have to do is follow the second part of the message.
AirTag counts on Bluetooth to locate your things. And the error means that your device is out of the Bluetooth range.
Theoretically, it reaches 800 feet outdoors and 130 feet indoors. So, all you have to do is “move around” until your AirTag is discoverable again.
I hope it helps.
3. Reset Network Settings

And sometimes, your AirTag might display the error due to a failed network.
Therefore, the best solution to resolve the error is to turn your iPhone or iPad’s WiFi off and on (after a few seconds).
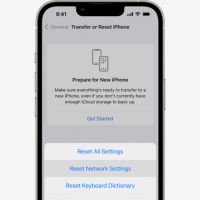
If that doesn’t work, reset your device’s network, and see if it helps.
Here’s how to do so.
- Open Settings > General.
- Tap Reset and then select Reset Network Settings.
- Enter your device passcode and then tap Reset Network Settings again. And the process completes here.
4. Remove and Re-add AirTag

Sometimes, the error appears when your iPhone doesn’t recognize your AirTag.
In that case, it is advised to unpair the AirTag altogether, wait for a few seconds, and then add the device again.
To remove the AirTag:
- Open Settings > tap on your name.
- Please navigate to the Find My app and select the name of the AirTag you want to remove.
- Start swiping up for Full AirTag settings.
- Select Remove them.
To Add AirTag to your device:
- Ensure the Bluetooth, WiFi, and Cellular Network are turned on.
- Tap Connect AirTag from your iPhone’s screen. You can add a custom name to your AirTag, and tap Continue.
- Select Finish, and it’s done.
5. Reset the AirTag

If so, hard Reset or factory reset the device and see if the trick works.
To reset the Airtag follow the given steps:
- Please press down the polished AirTag stainless steel cover and start rotating it Anticlockwise.
- Remove the cover and battery.
- Press the battery until it provides a sound to indicate it’s well attached.
- Repeat the steps five times; the sound produced the fifth time will differ. It indicates that your AirTag is ready to connect.
- Place the battery cover back to ensure the three tabs are found on the cover. Press the cover down and rotate it clockwise.
- Once you hard reset the AirTag, connect it to your iPhone using your Apple ID, and see if it is locating things or if the error continues.
6. Update the AirTag Firmware

Hence, if you are still struggling with AirTag not reachable error, you are using the outdated version, and it’s time to upgrade.
The process solves the security issues and helps you eradicate this annoying error in seconds.
Here’re stepwise instructions to check the current version of the AirTag firmware.
- Open the Find My app and tap in the Items tab.
- Select the AirTag and tap on the name and its serial number.
- The firmware version will then be displayed on the screen.
- Search for an update, and click to initiate the process. Updating firmware might take a little long; keep the device closer to your iPhone and ensure it is fully charged.
Frequently Answered Questions
Q. How Do Make Sure AirTag is Nearby?
Ans. To ensure your AirTag is nearby, tap on Alert > Continue > Find Nearby.
Follow the on-screen instructions and move around until your iPhone connects to the AirTag. Your iPhone also displays the distance and direction of the AirTag.
Q. Can I See My AirTag From Anywhere?
Ans. Yes, definitely. AirTags work from anywhere as long as they are connected to a stable data connection and are within a Bluetooth range.
Q. Are AirTags Waterproof?
Ans. Fortunately, Yes. AirTags are water resistant.
Summing Up
The guide ends here. Our guide would be helpful for you to resolve the AirTag not reachable error.
So, why wait? Follow the practical solutions listed above, and don’t let anything come between you and your Apple gadgets.
Do you find these methods helpful? Please share your feedback and recommendations with us in the comments below.
We will love to hear from you. For more news and updates, bookmark the page and stay tuned.

